![]()
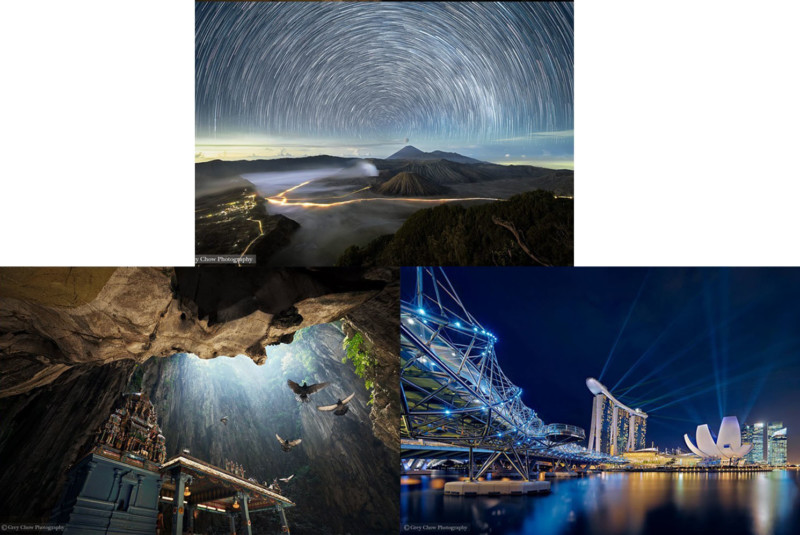
You may have heard of the 52-Week Photo Challenge, but have you tried it out before? I committed myself to the challenge in 2014, and my photography skill set has greatly improved since then. Because of that, I want to share this with you.
What is the 52-Week Photo Challenge?
The challenge basically requires you to post a photo once a week and continue doing it for a total of 52 weeks, or a whole year.
How it Compares to the 365 Photo Challenge?
The 365-Day Photo Challenge (or Project 365) is another type of challenge — one that requires you to post a photo every day. However, I don’t favor that challenge.
If you are into that type of challenge, you are most likely going to shoot everything and anything accessible to you on that day, e.g. food, street, landscape, portrait, etc. so that you can stick to the challenge.
I want you to focus only on one type of photography genre, training yourself to the fullest. By doing so, you will experience a vast improvement in your work. You will learn to be familiar with different camera settings for different lighting and subjects. You will have a better idea of how to compose better. You will know how to edit the photo to produce the type of result that you want.
Besides that, a genre like landscape photography heavily relies on the weather. In the worst weather, you may not be able to return with any photos from a photo shoot. I don’t want you to compromise just for the sake of commitment.
On the other hand, a 52-Week Photo Challenge is more manageable, giving you more time to plan your shoot, take photos, and process them. Let’s focus on quality instead of quantity.
One Simple Rule
If you decide to take up the 52-Week Photo Challenge, I’m going to add a rule on it for you — a single word: variety.
Like I mentioned above, I want quality work, and I want you to get improved too. If you keep revisiting a single place and submit 52 photos of the same scene, how much do you think you can improve from that? Most likely not as much as you could.
You need to take photos in different locations, experience different shooting conditions (seascape, cityscape, fireworks, light trails, etc.), and use different shooting techniques. Only then can you greatly improve your photography skills.

Tip #1: Compile a List of Shooting Locations
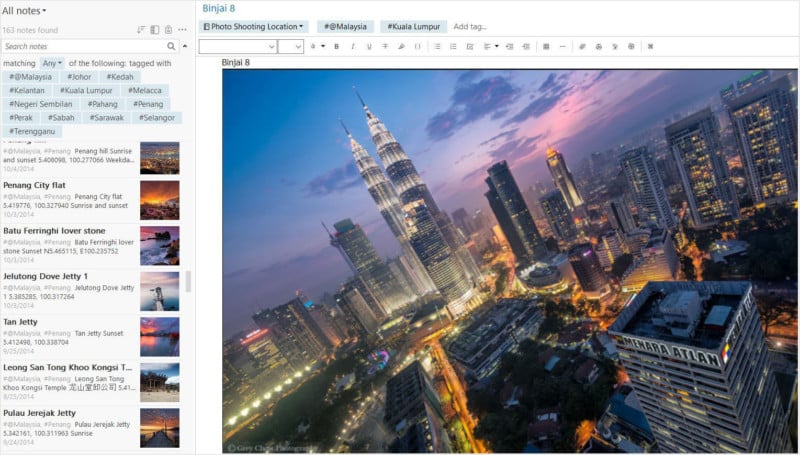
Don’t know where and what to photograph? Easy — follow a few photographers on social media, photographers whose work you like. From their work, you should have a better idea of what to photograph.
On top of that, you may also get inspiration on how they capture the photo and process them.

Tip #2: Plan your Shooting and Posting in Advance
Consider that you may need a few attempts to get a decent photo and take into account the time that is required to process the photo. It is better to plan your shooting and posting at least a week ahead, and if possible, try to get a few photos ready in advance. With that, you able ensure that there’s always a photo posted on every week, even though you are not free for any shooting/processing during that week.
Tip #3: Same Spot but Different Techniques/Composition
No plans to make a photography trip and you’ve run out of shooting locations? You can revisit the same places and try to get something different.
Different shooting techniques
![]()
The left photo is a standard landscape photo during blue hour, and I took the photo a few years ago.
The right photo was from my recent trip to Penang Island a few weeks ago. This time, I decided to capture a long exposure B&W photo here. With the help of 2 ND filters (ND1000 and ND64), I was able to use a slow shutter speed of 60 seconds, even though it was 9 a.m. morning. The 60-second shutter speed help to smoothen the seawater, adding a sense of calm to the photo, and the sunlight nicely lightened up the bridge.
Different time of day
![]()
For these two photos, the composition is the same, and it was actually from the same shooting session. The left photo was taken around 15 minutes before the right photo. However, the shooting conditions are different, and the processing of the two photos are different. One is slightly dimmer and focuses on the mood of the colorful sky and the street lights of the city. Another one is focusing on the blazing sunrise, creating a more refreshing look.
Different compositions
![]()
Again, two photos of the same scene but one of them was taken using a slightly unique composition.
Tip #4: Be kind to yourself
If you can’t make it in a particular week, don’t blame yourself. We are just human, and sometimes there may have an unforeseen circumstance that pulls us away from committing to the challenge. Just proceed to focus on the next posting, or you can choose to post two photos next week to fill in the gap. Your choice!
Good Luck
If you decide to take up the challenge, congrats on taking a first step in becoming a better photographer!
About the author: Grey Chow is a photographer based in Kuala Lumpur, Malaysia. The opinions expressed in this article are solely those of the author. You can find more of his work on his website, Facebook, YouTube, and Instagram. This article was also published here.

