
![]()
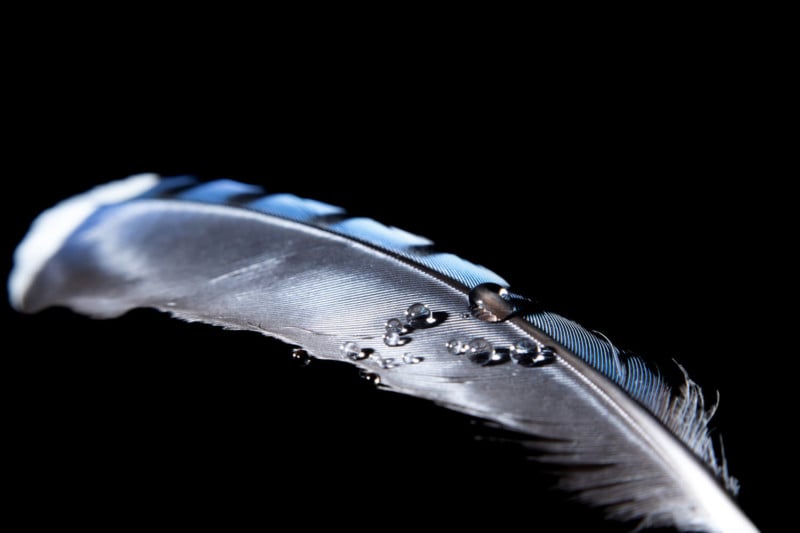
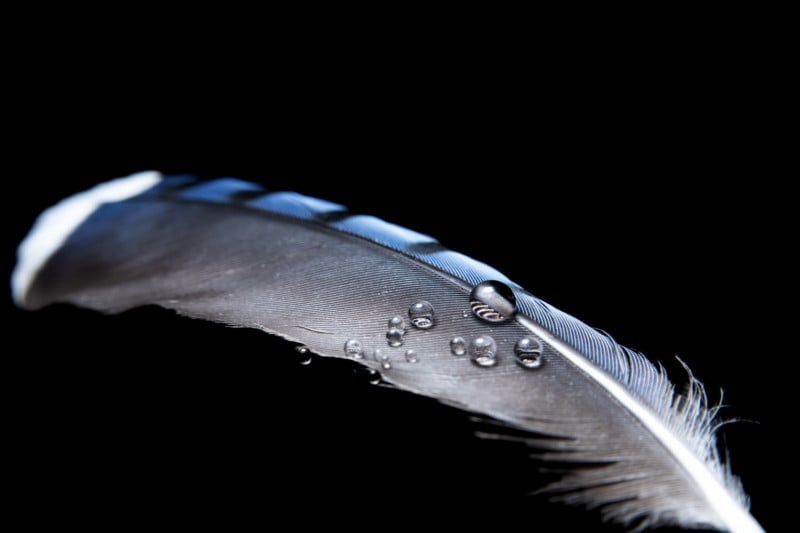
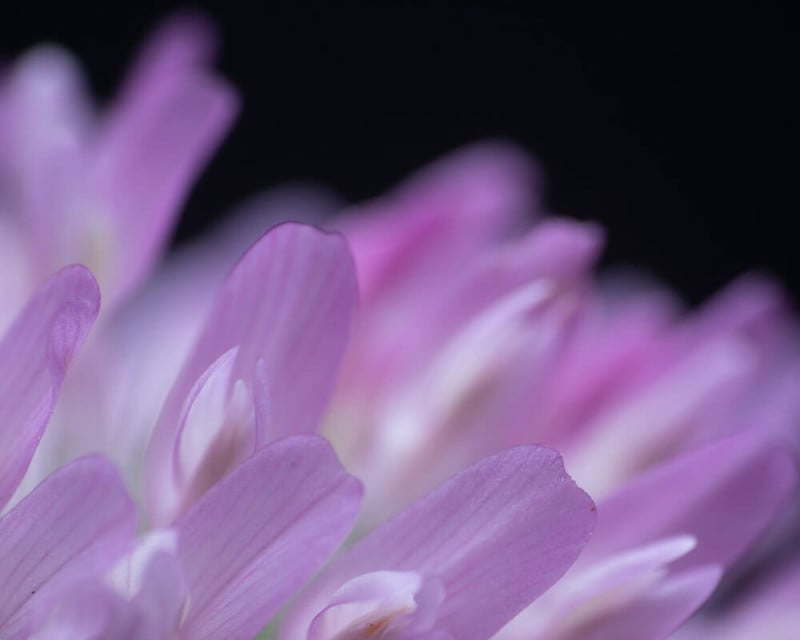
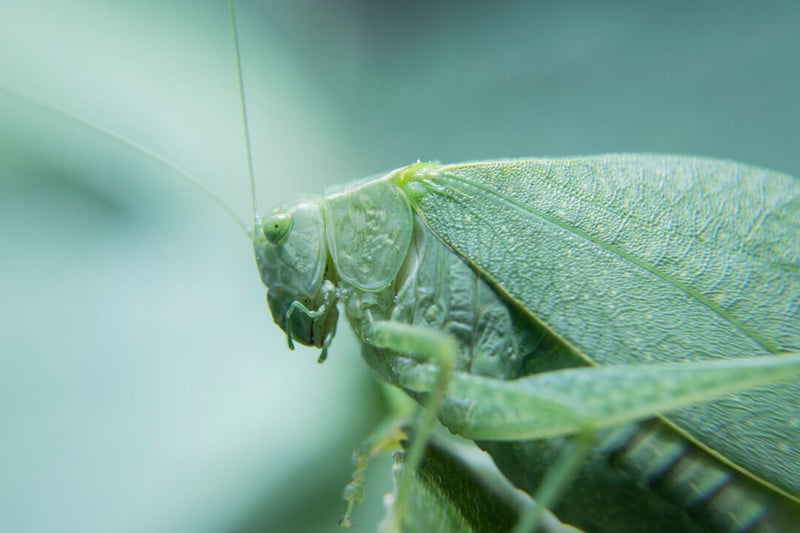
Even though speedlights are incredibly useful for macro photography, they’re light does not always look flattering. Harsh shadows in unwanted places, blown out highlights and strong aberrations are common issues. And even though strong, directed light can look good in many cases, diffused light looks more natural and generally more pleasing to the eye too.
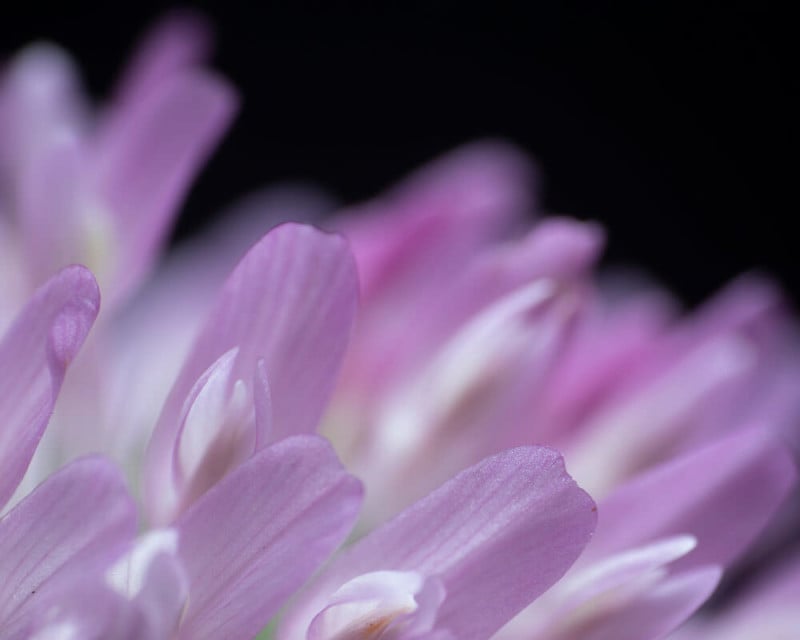
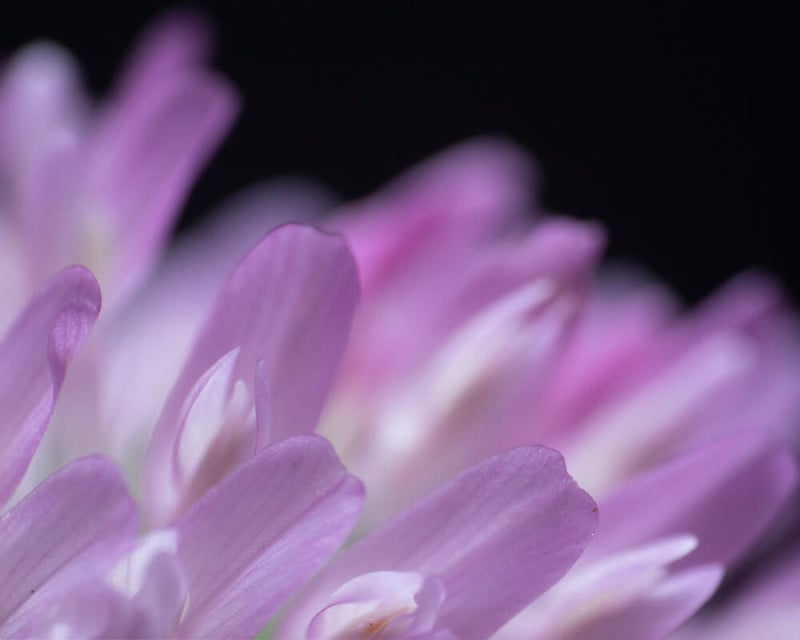
The two following photos illustrate that effect:
Why we need light modifiers
Using a speedlight for macro photography can be tricky; If it is mounted to the camera, only a fraction of the light will shine on your subject while the majority gets lost in the environment. And if your lens has a short working distance it might cast a shadow on your subject. But if you take it off the camera you will need to hold it, and we have only two hands; a few less than macro photography requires sometimes.
Most flash modifiers fall into the category of diffusers and usually serve two purposes: Diffusing the light and redirecting it to our subject. This way, our subject will be illuminated evenly and we can keep the flash power low.
What makes a good diffusers?
Light modifiers, especially diffusers are essential if you want to take control of the lighting. But what qualities really matter for macro diffusers?
Quality of light. The amount of diffusion is determined by the surface area of the diffuser and the material it is made from.
Yield. How much light hits our subject and how much gets lost?
Flexibility. Does the diffuser work lenses of different sizes? Does it work off-camera, too, and is it adjustable?
Size. The larger a diffuser (especially if it is angled down from above) the less suitable for field photography. Bigger diffusers/rigs look more intimidating to potential subjects, such as bugs or bees in the field. In the studio the motto is the bigger, the better. Smaller reflectors lose less light, bigger ones provide more diffusion.
Generic vs. DIY
There is an incredible amount of different flash modifiers available on the market. Some work well, others don’t, and some are simply not meant for macro photography. By designing them to suit your own needs and expectations they will be more effective than a generic softbox or a shoot-through diffuser. Of course, not all store-bought diffusers are bad, indeed some of them work really well and most of them don’t cost much more than the material for a DIY project would.
Nevertheless, creating your own modifier will provide the most individual solution and will teach you a thing or two about lighting on the side.
The basic recipe of most DIY diffusers goes like this:
Cardboard or similar material for the housing. Thick crafting paper, cartons or Pringle’s cans (because of their reflective inside and ideal diameter) are materials that work very well for this purpose. If you want the diffuser to be weatherproof you can use a plastic desk mat instead for the housing.
Something reflective such as (adhesive) aluminum foil, a rescue blanket or even a cut open pack of chips will serve this purpose.
The diffusing layer. This can be packaging foam, bubble wrap, a clear desk mat, drawer lining or anything else that is mat and translucent.
Glue and duct tape. Something has to hold it all together.
Velcro. Velcro is the perfect material for attaching modifiers to your speedlight.
Let’s have a look at different light diffusers and their DIY counterparts.
#1. The Sto-Fen Diffuser
The best known and also least effective one of all is the Sto-Fen diffusor, a simple plastic cap that pops on to the flash.
![]()
This modifier doesn’t take much space but also has virtually no effect on the lighting. The DIY equivalent of this diffuser would be an empty yogurt cup that you stick on your flash.
Quality: The quality of light is ok but no better than it would be without it.
Yield: The yield of light is quite bad; light bounces into all directions and only a small portion actually shines on the subject.
Flexibility: Can be used with almost any flash and in any scenario.
Size: Excellent; its small size would make it perfect for photography in the field if it would be more effective.
The two images below show a close-up shot of a clover flower; one was shot with a bare flash head, the other one with a Sto-Fen diffuser. It is virtually the same image.
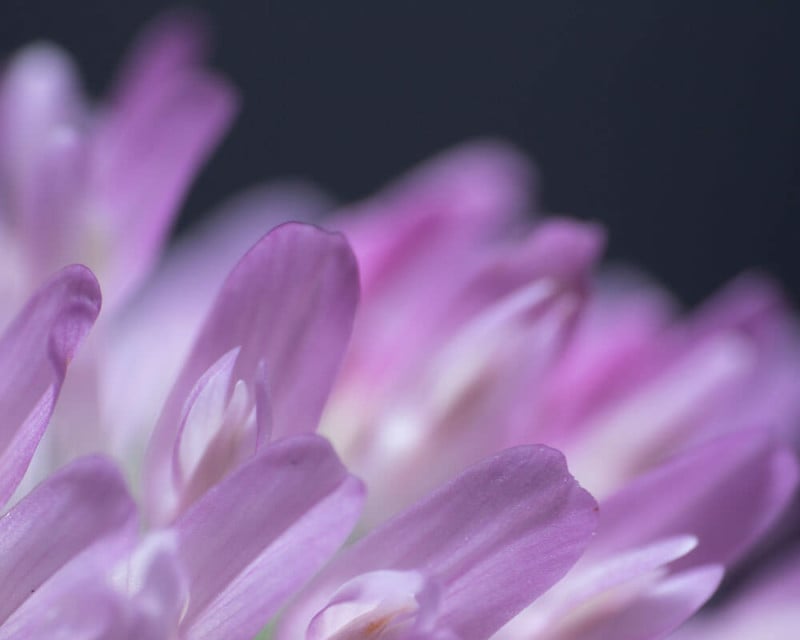
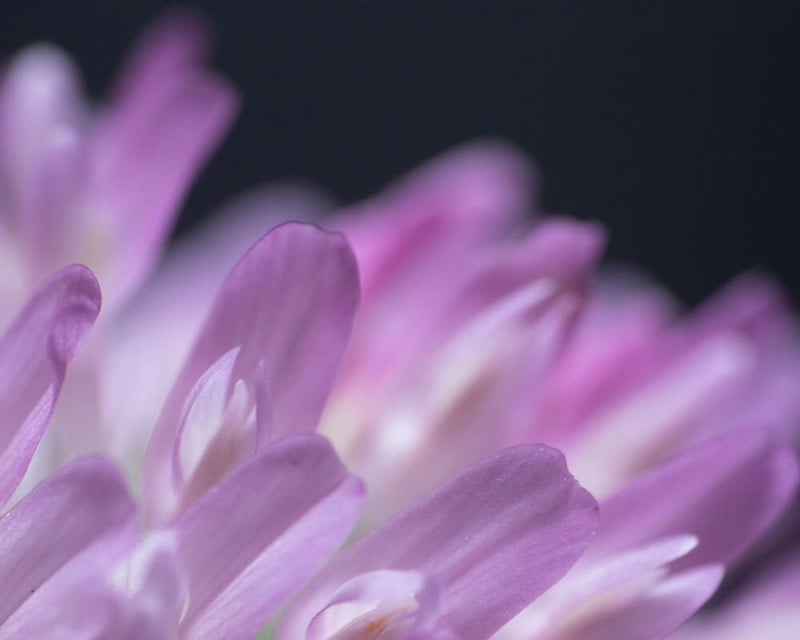
Both images were taken inside, where the flash can bounce, which makes for a softer look than they would achieve in the field.
#2. Softboxes
Softboxes are popular diffusers for all sorts of photography. Especially with macro photography, they can make a big difference. For best results and a good yield of light, the softbox should be angled down towards the subject in order to create an even light and avoid shadows from the Lens.
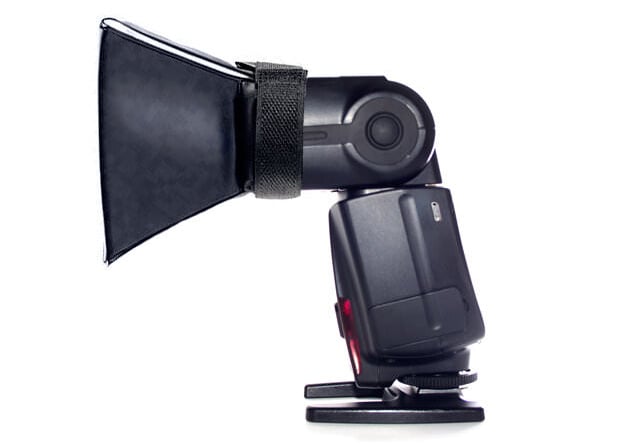
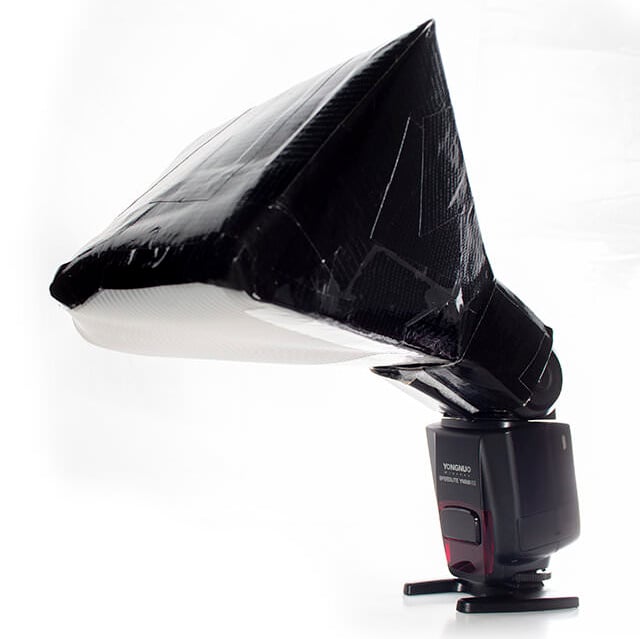
The first example will diffuse the light nicely, but most of it will be lost to the environment as stray light. The DIY box in the second image creates even softer light because of its larger surface area. It also provides more light at the same power setting and even works at working distances as short as one inch.
Quality: The quality of light is generally very good but fluctuates between different models. The larger the surface area of its outlet, the softer the light.
Yield: Softboxes have a good to very good yield. Compared to a bare flash (on-camera), a good softbox will save you up to a full stop of light, sometimes even more.
Flexibility: Good. They can be used in almost any scenario on- and off-camera. Difficult for skittish subjects.
Size: The size varies between different models. Smaller softboxes are more practical, but also mean less diffusion. Many off-the-shelf boxes are collapsible, which solves this issue.

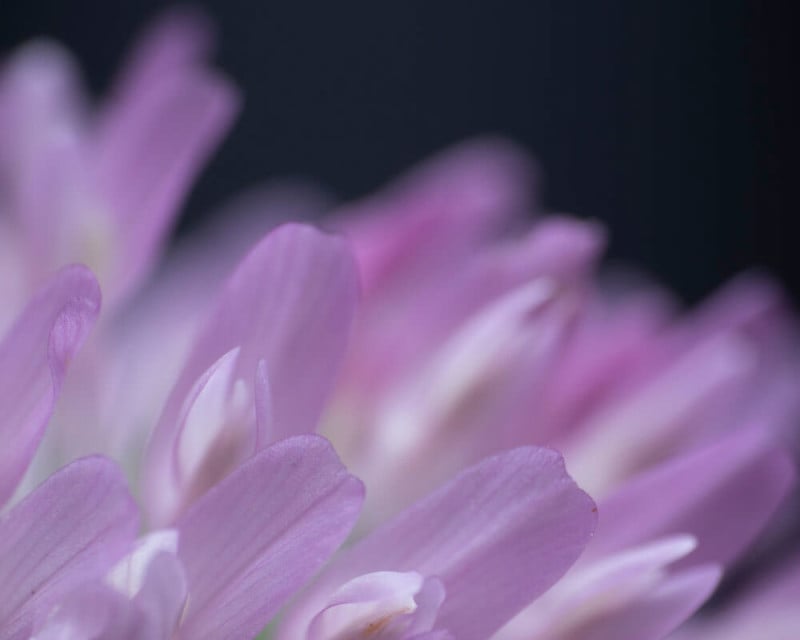
DIY Softboxes are not only fun to create and use, but they will also be the better fit for your lens and set-up because they are individual solutions for individual people.
They are also fairly easy to craft; thick craft paper or an empty carton of the right dimensions are a great base to start with.
![]()
![]()
The photo below was taken with this very softbox; the highlights are smooth and not blown out. Without a diffuser, the structured exoskeleton of bees typically shows blown-out highlights, often accompanied by blue fringing.
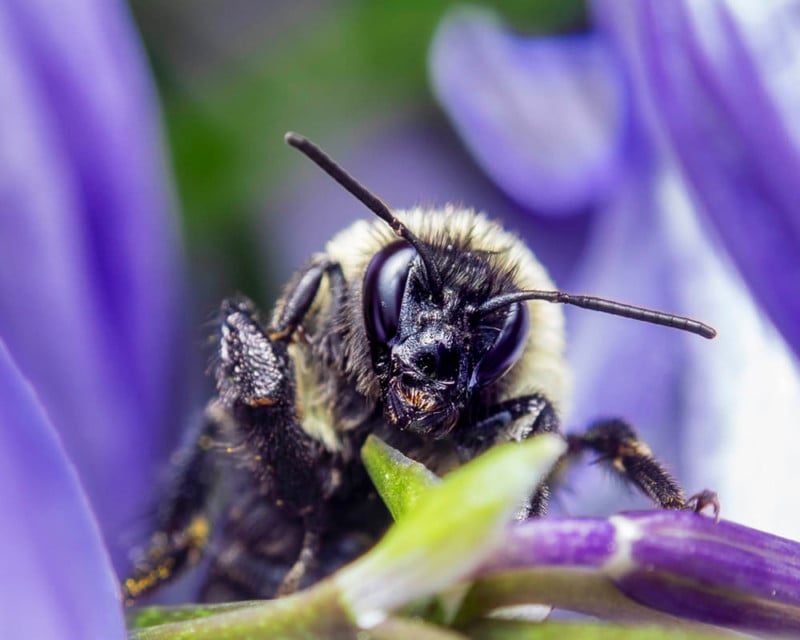
#3. Shoot-through diffusers
Shoot through diffusers are a concept that is familiar from portrait photography, where large white umbrellas are used to produce a soft and complimentary light. These umbrellas work excellent for macro photography as well, as long as you are shooting in the studio. Fortunately, there are some more practical solutions for the field:
![]()
![]()
![]()
The brilliance of these diffusers is their large surface area, that encloses the lens and therefore brings the light source as close to the scene as possible. This results in a perfectly even light that hits your subject from almost all angles.

Quality: The quality of light is extremely soft and the most even out of all modifiers I tested.
Yield: The yield is ok. Compared to a bare (on-camera) speedlight, the generic model safes half a stop of light and the DIY version safes almost a full stop.
Flexibility: These diffusers will work with almost any lens and camera and always be as close to the subject as possible because they attach directly to the lens. For the same reason they are limited to on-camera use however. The downside is that lenses, that focus by rotating the front-element, will change the orientation of the diffuser.
Size: In terms of size, shoot-through diffusers are ideal. The store-bought version is collapsible and takes no room at all, The DIY versions are pretty much flat and will fit in almost any camera bag.
Super-soft light and its practicality make this sort of diffuser the ideal solution in the field. Especially if you use lenses of different focusing distances, as these diffusers will always be right where you need them; at the front of your lens.
#4. Pringles can diffusers
Empty Pringles cans are a popular “lighting hack” for macro photography. Creating your own light mod’s from cans of chips is not only a great excuse to buy snacks but also easy and yet effective.
Typically people cut a rectangular opening into the bottom of the can to stick the flash into the opening:
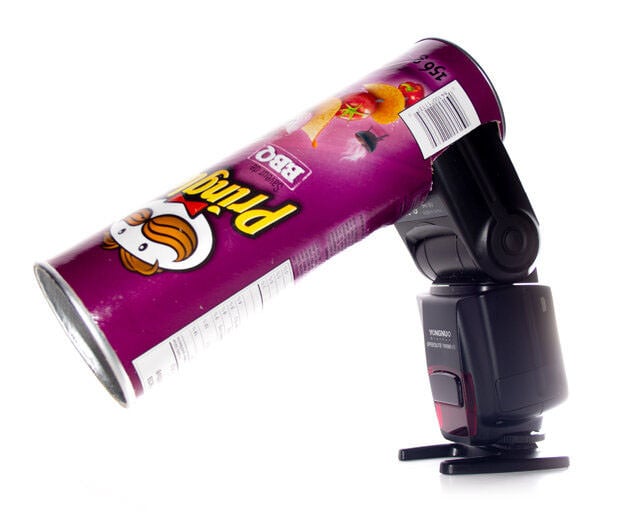
This works really well, but there is a lot more these cans can do for your lighting. They are the perfect material to build macro diffusers from; stable tubes with a reflective inside and the ideal diameter to fit on almost any speedlight.
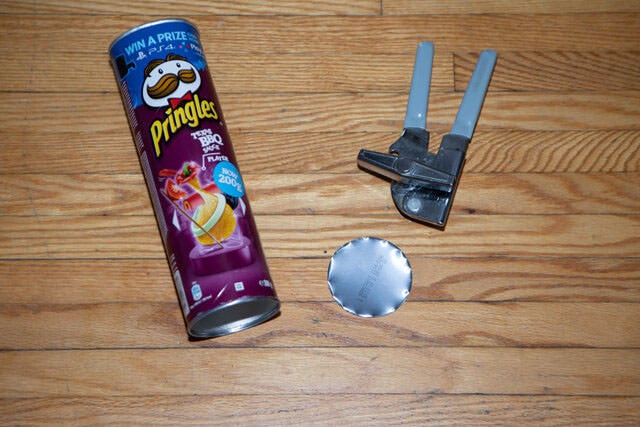
By cutting out the bottom of the can with a can-opener you can slide the tube directly on to your flash and extend or retract the diffuser by almost two inches. This is useful if you use lenses of different sizes.
![]()
![]()
But of course, this is only a starting point. In the next step we are going to create an elbow, to direct the light even better and concentrate it in the area where we need it; right in front of the lens.
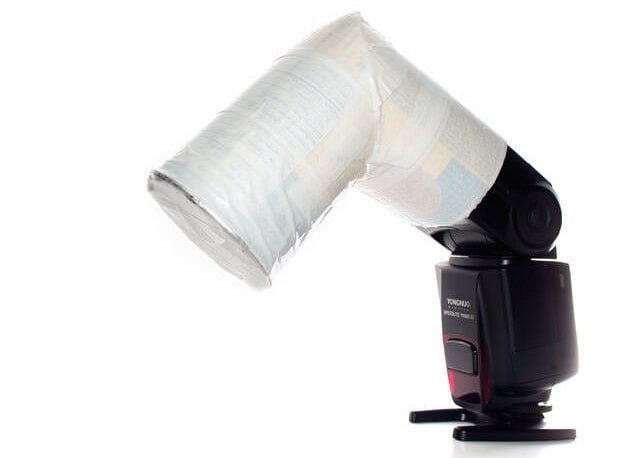
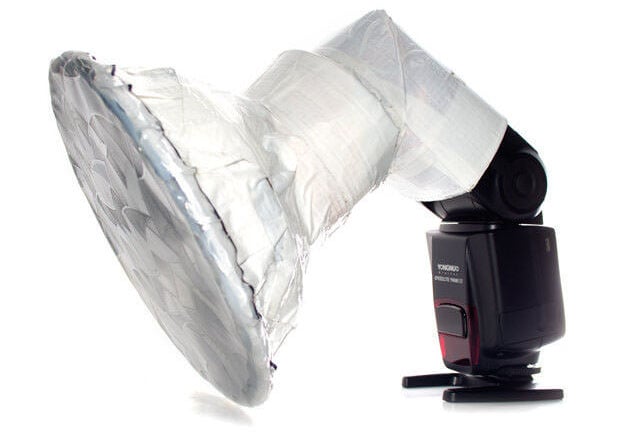
Both of the modifiers above do a great job diffusing and redirecting the light and especially the elbow diffuser is incredibly effective and practical. Its light is even and shows more highlights than most other diffusers. The “beauty dish” creates a soft and dreamy light over a larger area, but therefore requires more flash power and takes up quite a bit of space in the camera bag.

In the slideshow beneath you can see how these modifiers were built and hopefully find some inspiration for your next DIY project:
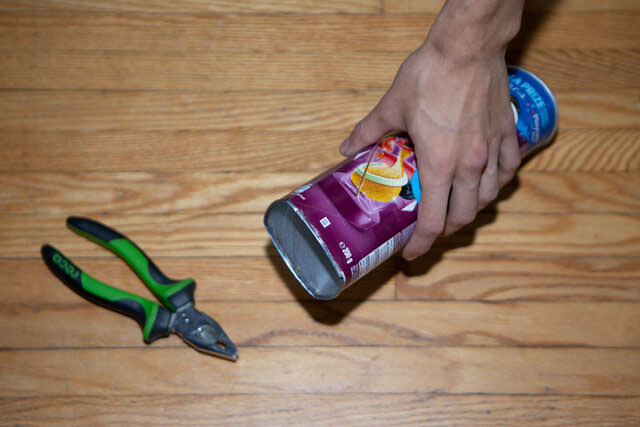
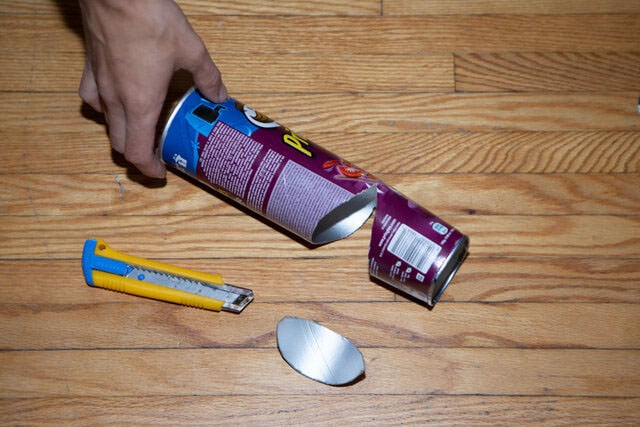
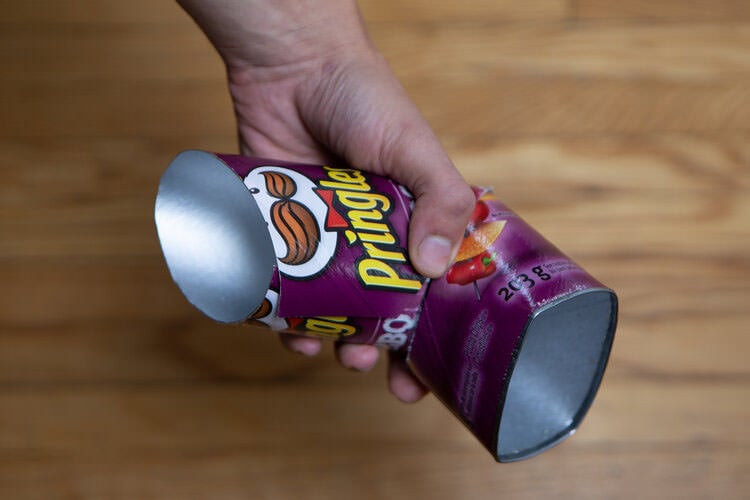
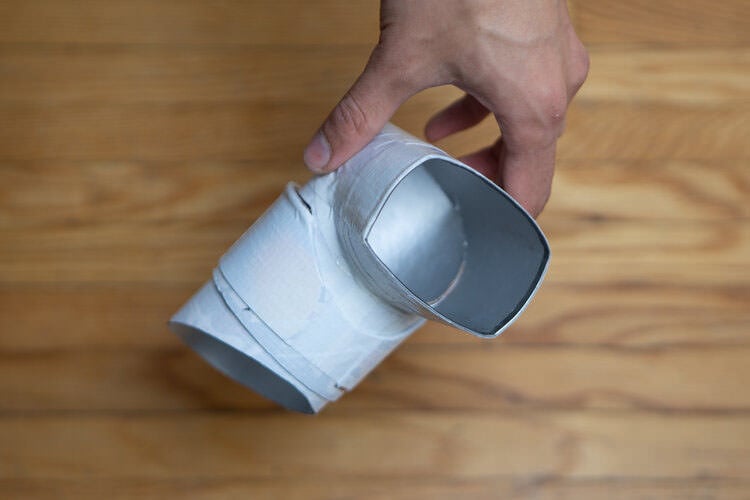

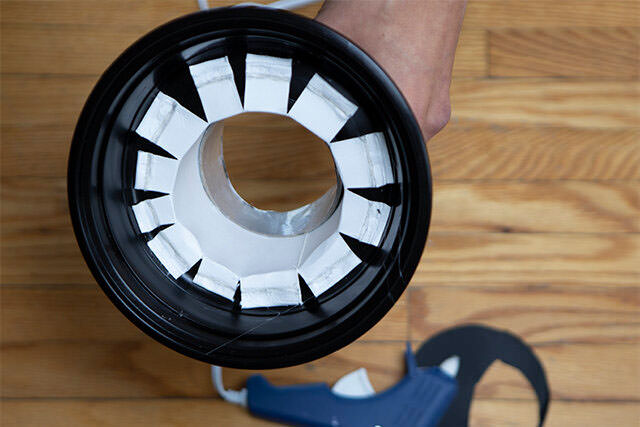
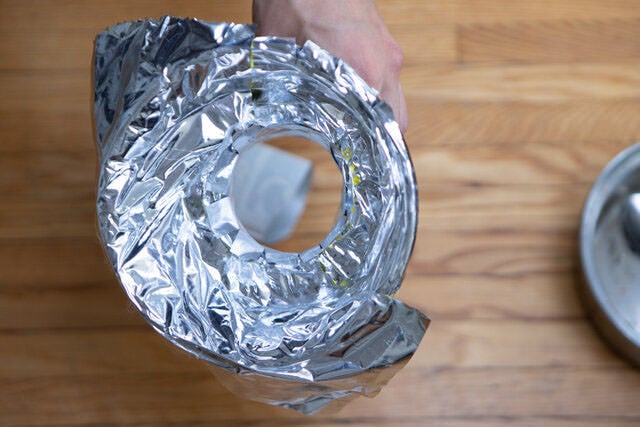

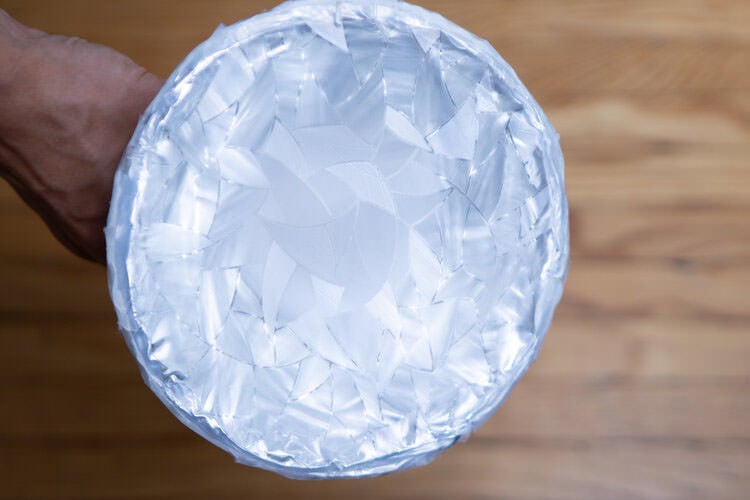

If you want your modifier to be extendable you can use two cans and cut one of them open, so you can slide it over the other one and adjust the length of it as needed. This also allows to angle the light source off to the side.
The result could look somewhat like this:
![]()
![]()
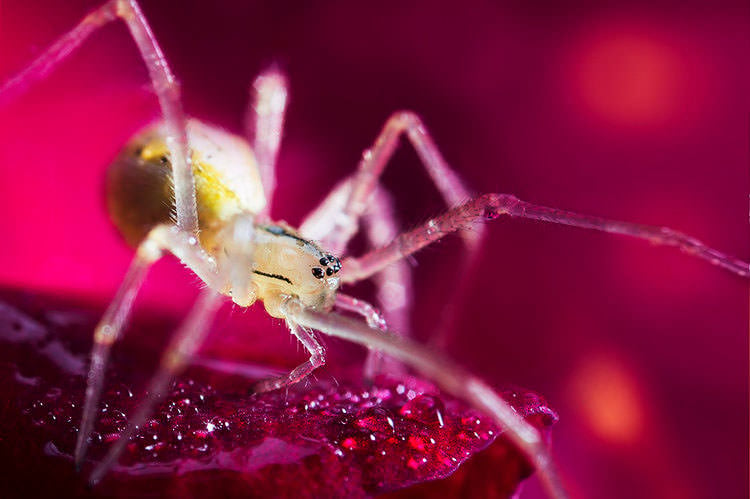
Even though we tend to think of diffusers when we hear “flash modifier” in a macro context, they are not the only way to modify your light source. Let’s look at a couple more creative modifiers:
#5. Lightbox
The lightbox I am using works much like a conventional softbox; it holds a speedlight and has a reflective cover on its inside for the light to bounce around.
But instead of having a diffusive cover, it is open in the front.
![]()
This allows us to get creative with different materials or fabrics to create interesting effects and colorful, nicely illuminated backgrounds. Something as simple as a shopping bag can make for a wonderful backdrop in combination with this box.
![]()
![]()
![]()
![]()
![]()
![]()
![]()
![]()
These are just some ideas; the possibilities and materials to use with it are countless.
#6. Light filters
Attaching filters to your speedlight is can open up new worlds of creativity.
![]()
There are two specific filters that produce surprising results: CPL and UV-only filters.
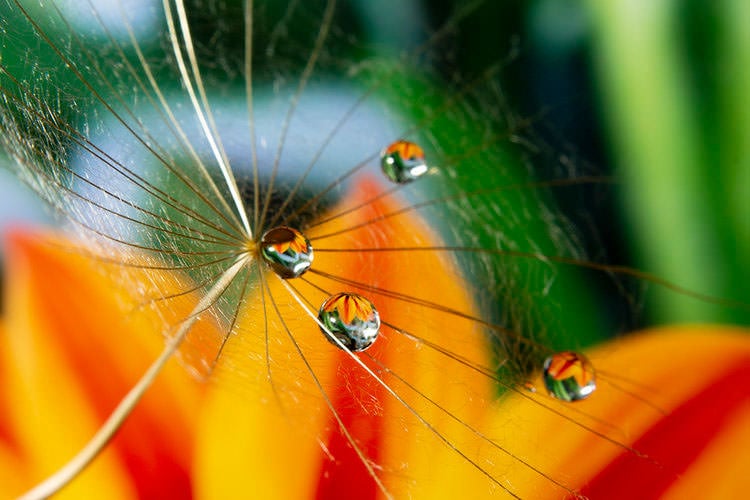
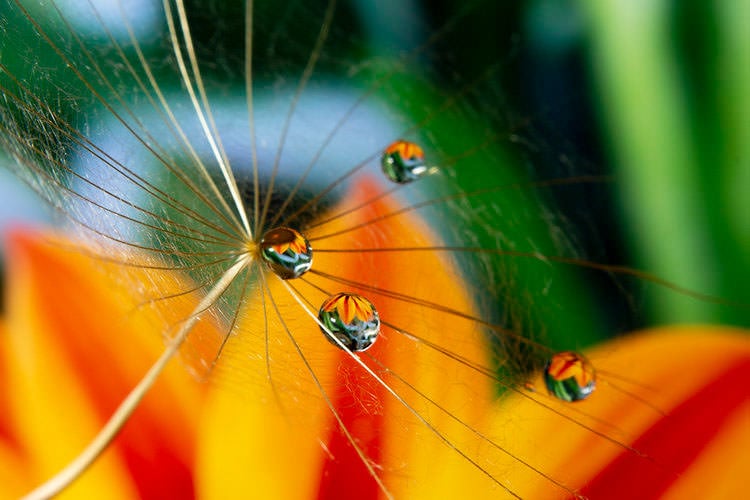
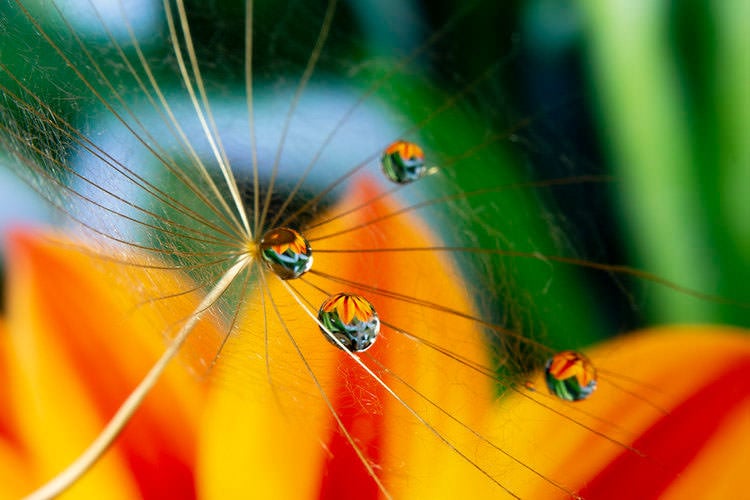
CPL filters polarise light. Generally, light sources emit light that vibrates on a number of different planes; a polarising filter lets only one of these plains pass. This becomes interesting when we combine a polarised light source with a polarizing filter on the camera lens. By adjusting both filters accordingly, we can remove specular highlights from the scene while retaining the overall illumination. This technique is called cross polarisation and is especially useful for glossy subjects that reflect a lot of concentrated highlights. The following slideshow illustrates that effect:
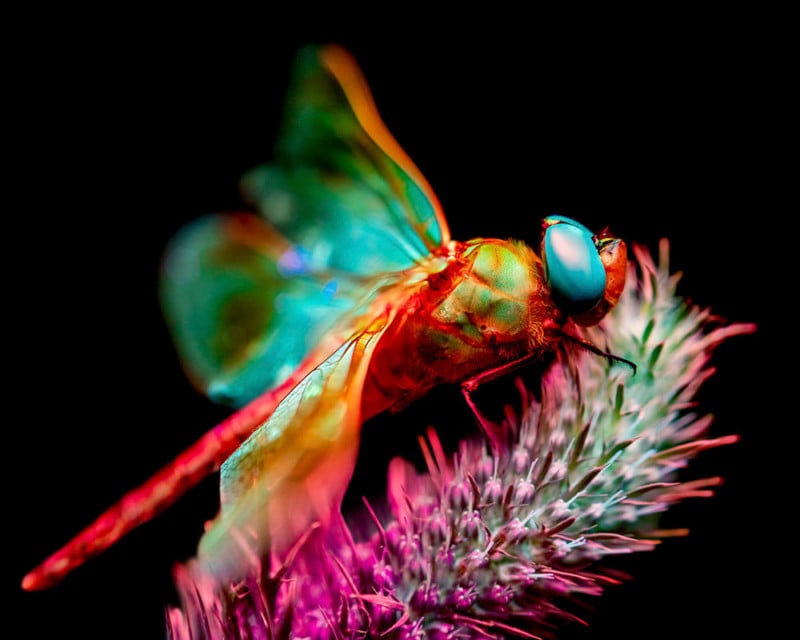
UV filters filter out all visible and infrared light, only allowing the ultraviolet section of the light spectrum to pass. Of course, this decreases the output of your speedlight drastically, but the results of UV-induced fluorescence are fantastic.
Crafting such a filter-holder is quite easy. All you need is a can of chips, a couple step-rings and duct tape:
About the author: Maximilian Simson is a London-based portrait and event photographer who also shoots fine art and macro photography. The opinions expressed in this article are solely those of the author. To see more of his work, visit his website. This article was also published here.

