
Want to create a “small world” or “tiny planet” image in which a landscape photo (often a panorama) is turned into what looks like a miniature planet? Here’s an easy-to-follow 2-minute tutorial that will teach you how to make one in Photoshop.
Here are the step-by-step instructions by Adobe Creative Cloud Evangelist Paul Trani on using Photoshop’s Polar Coordinates filter to achieve your desired result.
1. Prepare a Panoramic Photo
First, you’ll need a landscape panoramic photo. The left and right sides of the photo need to be manipulated so that they match up, allowing them to be seamlessly joined together in the final small world.
There are various ways you can go about doing this, but Trani duplicates the photo into a new layer, flips it horizontally, using a layer mask to hide all but one edge of the new flipped photo, and working with the mask to blend the new edge into the original photo.
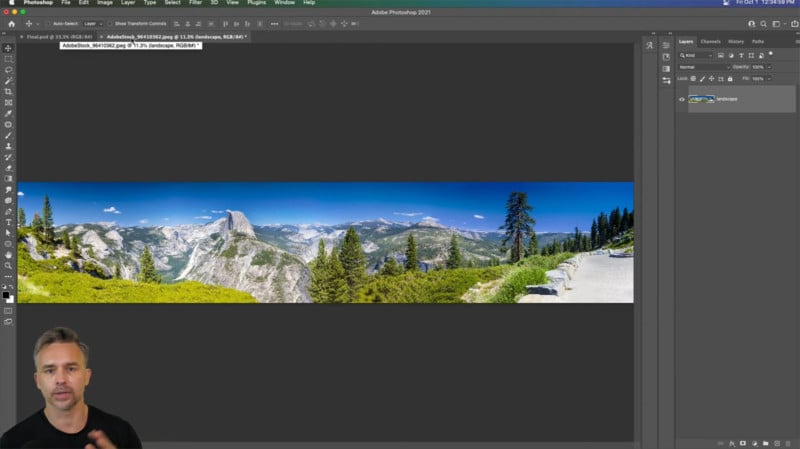
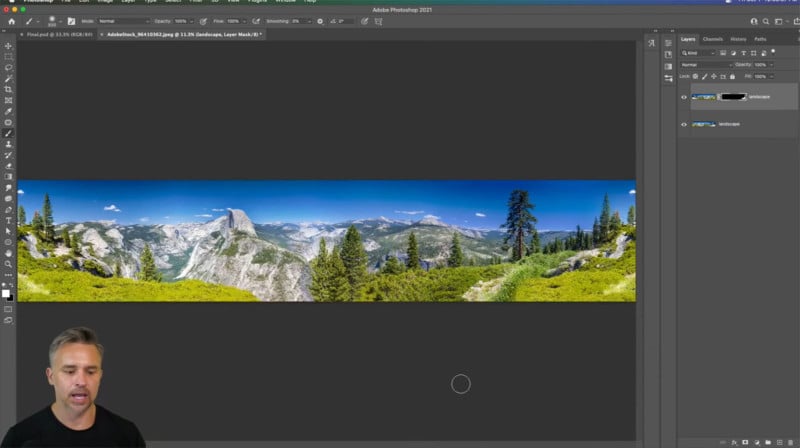
Once you have the prepared panorama, convert it to a Smart Object.
2. Square, Scrunch, and Flip
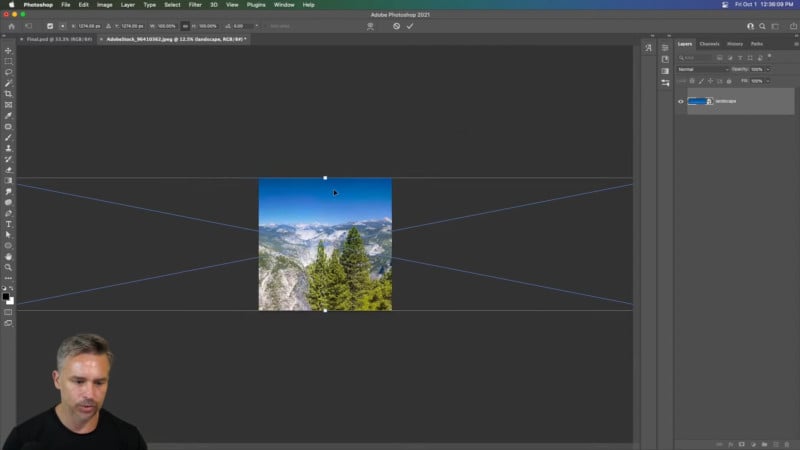
Next, make sure your canvas is a perfect square — change the canvas dimensions so that the width matches the height. This will lead to much of the photo being outside the bounds of the canvas.
Do Free Transform (Ctrl+T or CMD+T) to scrunch the photo so that it’s entirely within the new square canvas. You’ll also need to rotate it so that it’s upside down.
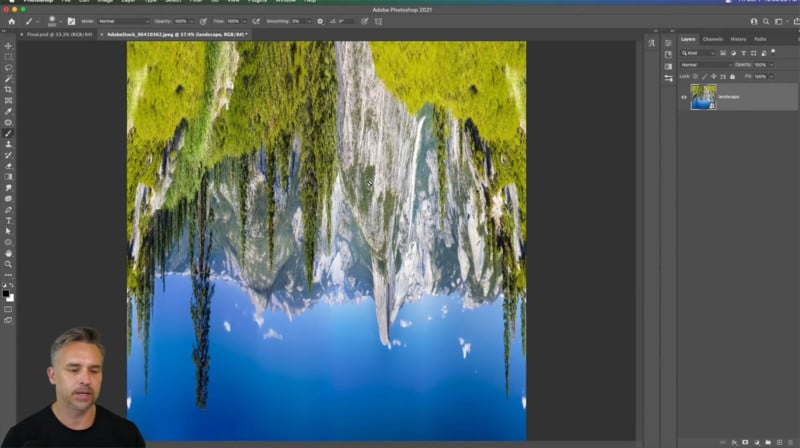
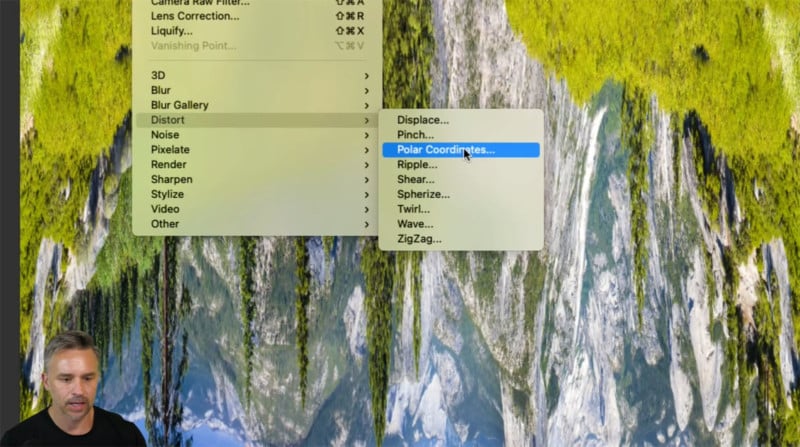
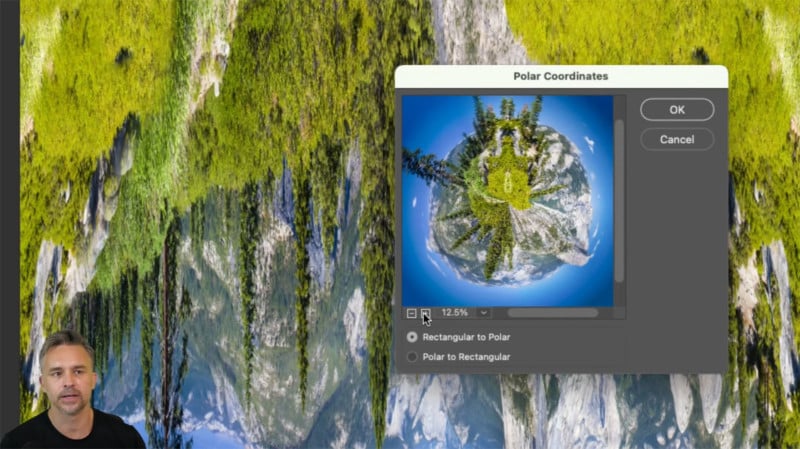
Use the Polar Coordinates filter found under Filter->Distort. Make sure “Rectangular to Polar” is selected and you’ll see a preview of the small world photo you’re about to create.
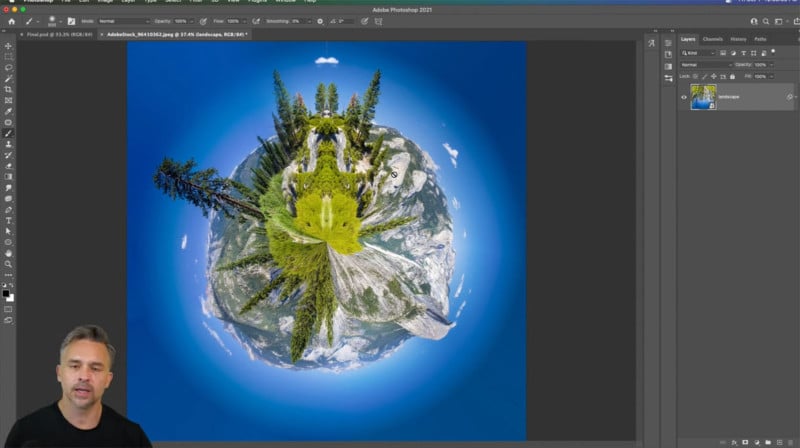
Voila! You’ve made a small world photo!
The video tutorial is part of Adobe’s #PHOMO series on YouTube, which features Photoshop editing tips and tricks in short bite-sized videos.

