
![]()
Attaching the variable neutral density (ND) filter to a lens basically means that we have added a fourth dimension to our camera. The exposure triangle — aperture, ISO, shutter speed — has been expanded with a fourth variable with which we can play to achieve a desired effect or outcome. This opens up for new creative opportunities in our photography and also adds a lot of flexibility to our shooting.
Full disclosure: I am an ambassador for several photography brands, including NiSi, whose filters are mentioned in this article.
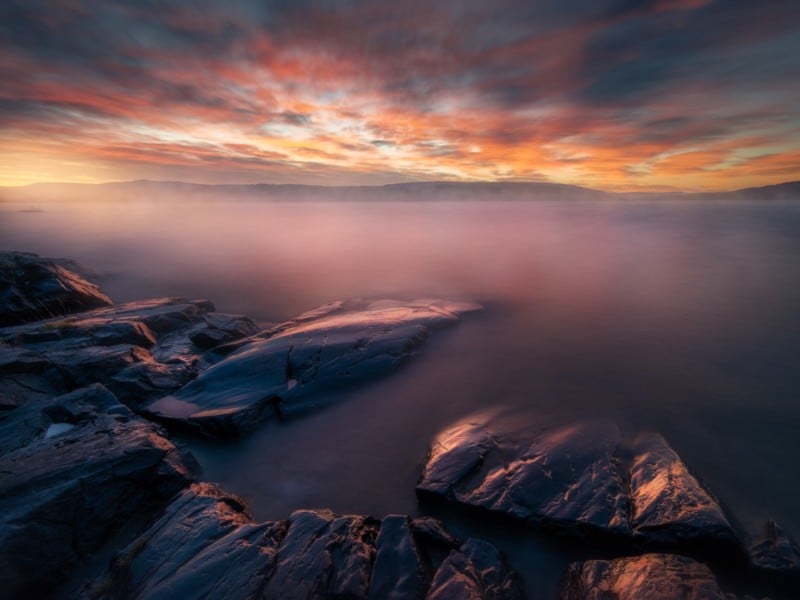
Let us assume I would like a 30-second sunrise exposure where my main goal is to smooth the water. My initial camera settings are f/11 and ISO 100. I set my camera to Live View with the histogram enabled and adjust the transparency of the filter until I am around 30 secs. It may be necessary to fine-tune aperture and ISO settings to perfectly achieve the exposure I am after — including having a decent histogram. As it becomes brighter, I simply adjust the filter, that is, darken it to maintain my 30-sec limit.
Sunrises this far north (in Norway) come in at least three stages where the first warm colors appear when it still is pretty dark, and a 5-stop or 6-stop filter is way too dark, whereas 1.5 stops may be just perfect.
Personally, I find smoothed water of waterfalls and rivers aesthetic and pleasing to the eye. However, there are instances when smoothing a waterfall may have an adverse effect — some of its sheer power and wildness are lost. Perhaps I would like to preserve these desirable qualities of a waterfall but smooth the water in the ensuing river.
By attaching a variable ND filter — in my case a NiSi Variable Neutral Density 1.5-5 Stop Filter — to the lens, this double effect can be obtained with a minimum of effort. The two resulting images can easily be blended in a program such as Photoshop.
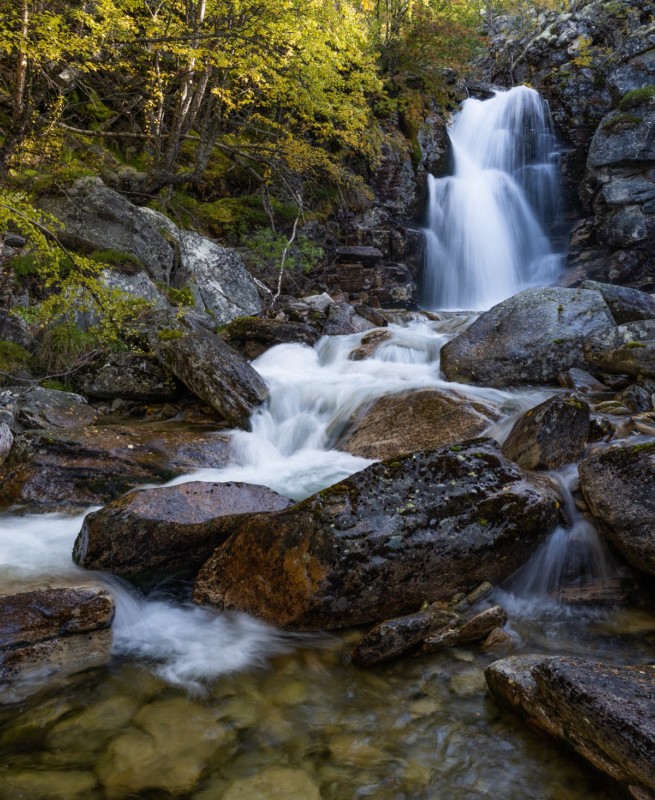
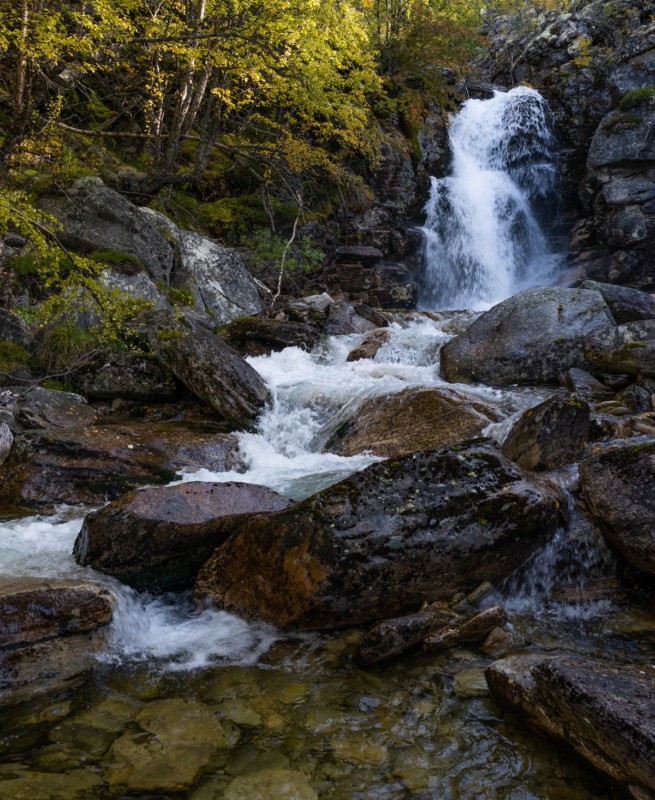
The two exposures blended and given a quick edit in Photoshop:
![]()
In this instance, I think I would have preferred to use the 1/5 exposure for all the water, but I opted to make a blend for the sake of illustration.
Very often there is movement in the foliage around a waterfall caused by the falling water that sets the air in motion. This necessitates a fast exposure to freeze the leaves in the foliage. Setting the filter to it max value for the water and next to its lowest value may be enough to produce the desired effect. If I still have movement in the foliage because the shutter speed isn’t fast enough, I also adjust the ISO and the aperture to achieve a faster shutter speed.
Freezing the foliage:
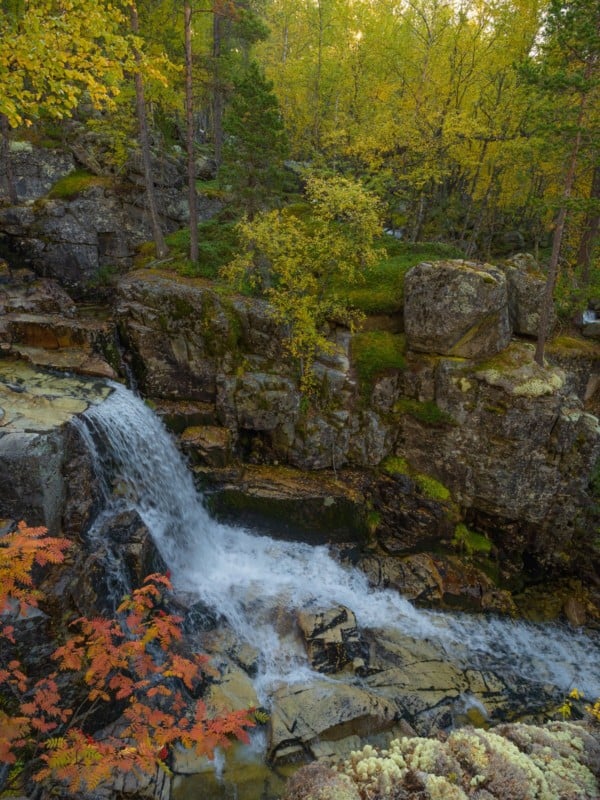
Smoothing the water:
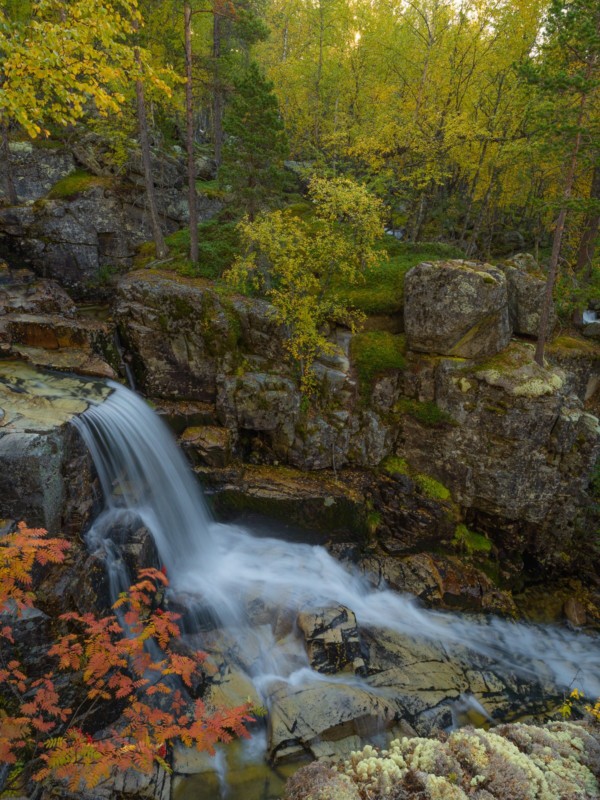
The finished image:
![]()
In this case, I also blended in an exposure for the sun as it found an opening in the foliage.
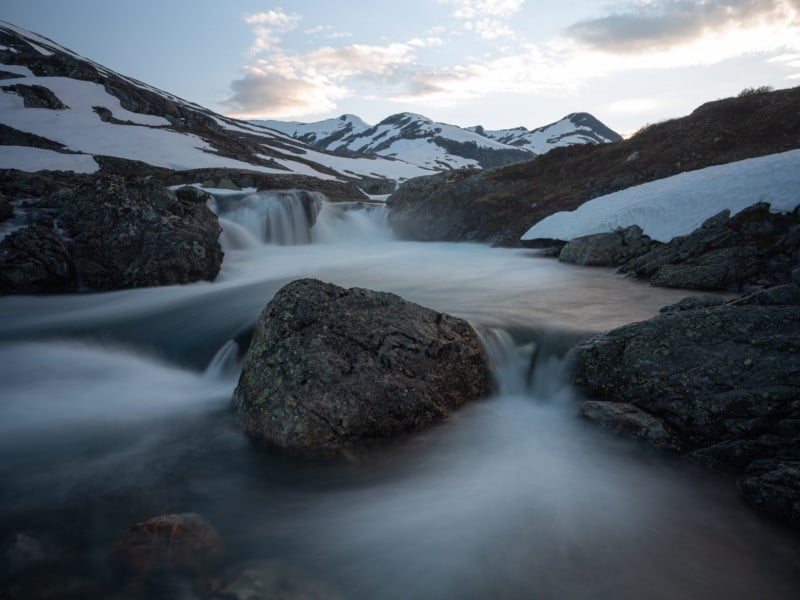
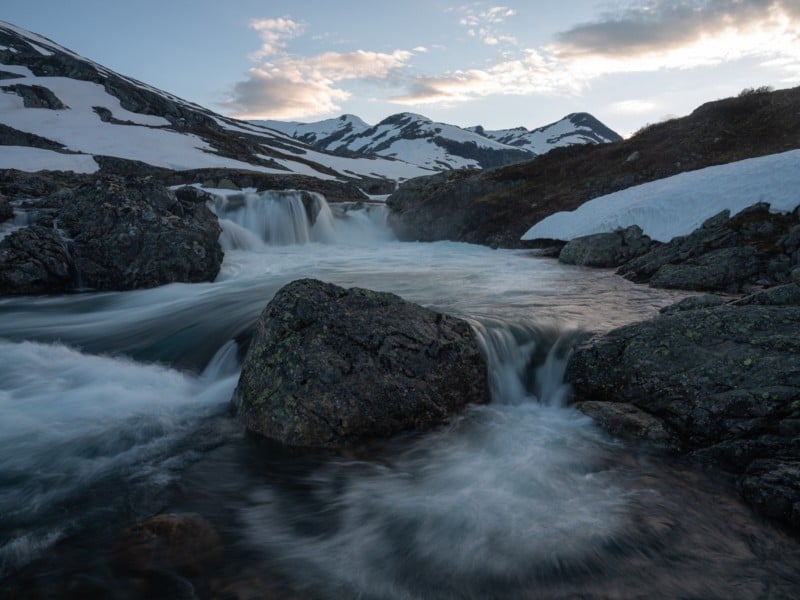
Long exposures of water create some very nice and pleasing lines, but textures and details in the water we would like to preserve are sacrificed. Again, using the variable density filter we can get the best from two worlds.
Lines:
Textures:
The finished image:
![]()
The finished image also includes a focal length blend to give back the mountains their proper scale and majestic presence in the landscape. In addition, there is a fourth exposure for the sky.
About the author: Ole Henrik Skjelstad is a landscape photographer and math teacher from Norway. The opinions expressed in this article are solely those of the author. You can find more of Skjelstad’s work on his website, Flickr, 500px, and Instagram. This article was also published here.

