
![]()
It’s becoming harder to get the entire image sharp with the constantly wider lenses and more extreme foregrounds that are used in today’s photography. Even optimal apertures aren’t enough to get both the foreground and background as sharp as desired. That doesn’t mean that it’s impossible, though. Focus stacking for sharper images has become a go-to technique for photographers of all levels to achieve images that are sharp all the way through.
What is Focus Stacking?
Focus stacking is an intermediate photography technique that combines the use of a camera and a post-processing software such as Adobe Photoshop.
Focus stacking is commonly used in various forms of photography but is most known within the genres of landscape and macro photography. It’s also used in portrait and wildlife photography but it’s less common to use it when photographing moving subjects.
The technique involves capturing two or more images with different focus points throughout the scene. Later on, these images are blended/merged together where only the sharpest areas of each image are used. This results in an image that has a sharp foreground, middle ground, and background, making it ideal for large prints!
![]()
Why Focus Stacking?
There are many benefits to focus stack your images even though it’s an intermediate technique that requires some extra time to execute both in the field and in post-production.
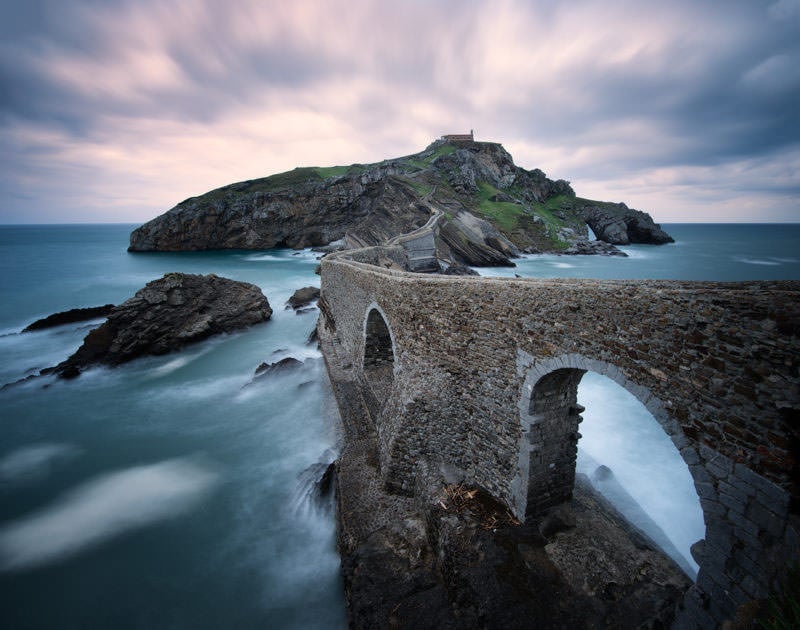
As mentioned above, images won’t be sharp all the way through if you use an ultra-wide angle lens and place a subject close to it in the foreground. When there’s such a big distance between the foreground element and distant background, only parts of the image will be sharp. By capturing multiple images with different focus points throughout the frame the final image will be sharp all the way from foreground to background.
This is also the case for macro photography. Getting the entire flower sharp is often a hassle and zooming in shows that parts are slightly less focused. This is common when using open apertures such as f/2.8 or f/5.6. Therefore, many tend to capture multiple images and blend them together for one ultra-sharp image.
Differences might not be significant if you’re only viewing images on a smartphone or small computer but as soon as you begin to print, the difference becomes uncomfortably visible. When printing on large formats even the smallest errors become visible and if half the image is unfocused the print can be considered a waste of money.
When Should I Focus Stack?
Focus stacking might be an incredibly powerful technique but it’s not always necessary. In fact, most likely you won’t be focus stacking for the majority of your images.
This technique is beneficial only in very specific scenarios, most of which already mentioned above. Let’s look at some scenarios when focus stacking is beneficial for the final image:
- Photographing a scene with great distance between the foreground and background
- Using an ultra wide-angle lens and there’s a subject close to it
- Zooming in on a scene, such as a forest, and you want everything to be sharp even with an open aperture
- Photographing small scenes and macro photography in general
All of these are scenarios where focus stacking could be beneficial and you should consider using this technique. However, each image and scene should be evaluated individually and they might not have the same requirements.
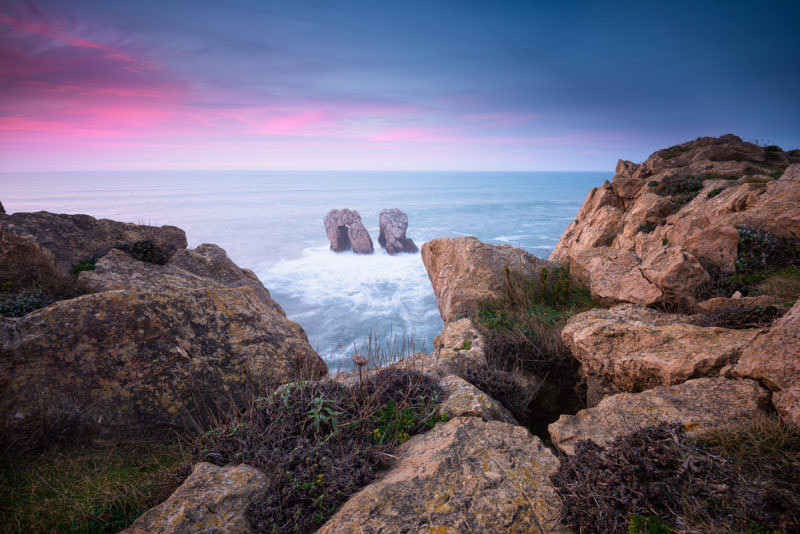
A good practice is to capture a test shot with the optimal aperture, such as f/11 and zoom in to see if everything is sharp. If the foreground subject or distant mountain is visibly soft and slightly out of focus, that’s a good signal that focus stacking should be used.
How To Focus Stack
So all of this sounds dandy but how does it actually work? Even though it’s an advanced technique, it’s actually not as difficult as you might fear. Capturing multiple images with different focus points is rather easy and if you’re already familiar with blending multiple exposures for better dynamic range this won’t be that hard.
If you’re new to Adobe Photoshop this might be confusing and even demotivating but, trust me, with some practice it won’t be long until you master the art of focus stacking (and so much more!).
Part 1: Capture Multiple Images In the Field
Now that we know what focus stacking is, why you should use it and when it is beneficial, let’s look at how it’s done. As I mentioned this is a two-step technique where the part one takes place in the field.
Start by setting up your image just like you would normally do. Find the composition and perspective you prefer and set the ISO, shutter speed, and aperture.
While it’s not essential, it’s highly recommended to use a tripod for this technique. Since you will capture multiple images of the same scene, a tripod ensures that the camera stands still so the images will be the same – this is important when we blend them together in Photoshop later on.
Adjust the Focus
After finding the composition and adjusting the settings, change the focus point to the object nearest your lens. This can be done by using either manual focus or automatic focus or both.
Take the first image when the camera has focused on the nearby object. When the image is taken, adjust the focus point to be slightly further away, for example, in the middle ground. Repeat the process and then move the focus point even further away.
How many images you need depends on the individual image. In most cases two or three images are sufficient. However, some images require twice as many shots to get the entire image sharp.
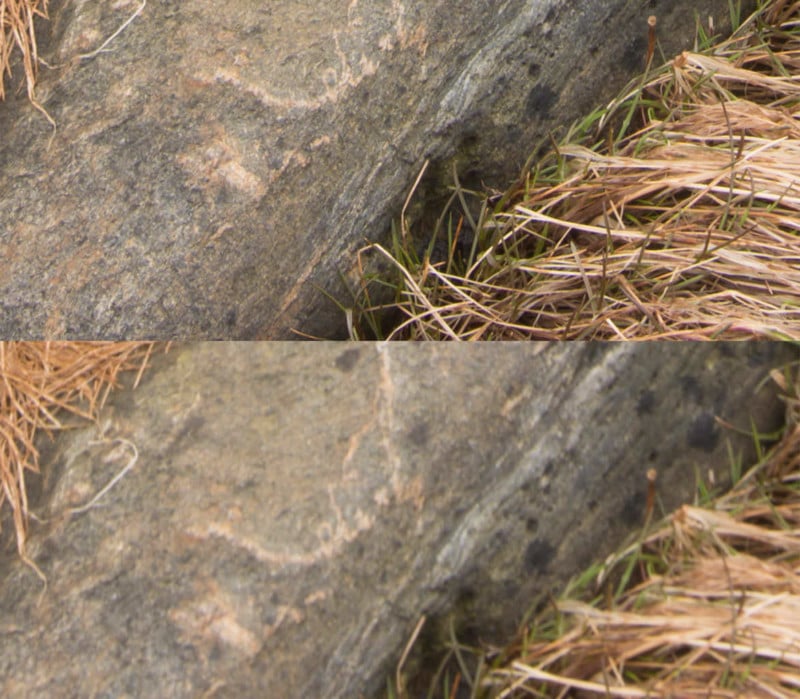
If you’re unsure how many images you need to capture, simply look at those you’ve already got and check if everything is sharp if they were to be combined. If you’re still unsure take a couple images extra with different focus points, just in case.
That’s it! The first part of this technique is not that difficult and after doing it a couple times you’ll quickly see how many shots a specific image requires.
Let’s quickly recap how to focus stack:
- Find your composition like you normally would do
- A tripod is beneficial but not essential
- Focus on the object closest to the lens and take an image
- Adjust the focus to be further away (how much depends on the distance between the foreground and background) and take another shot
- Repeat step number 4 until you’ve got enough images to make the entire image sharp.
Part 2: Focus Stacking Post-Processing Technique
Now that you’ve captured multiple images with different focus points it’s time to head back to the computer and blend them together.
The following steps might be a little confusing for those who don’t have much experience in post-processing software but by following these instructions step by step the result will be one razor-sharp image.
Blending Images in Adobe Photoshop
Adobe Photoshop is the most used software for advanced image processing. Experienced users can achieve endless techniques and effects in this software and it’s considered by many landscape photographers to be an essential tool.
The Photoshop algorithm will analyze each individual pixel and select only the sharpest one from each image before it creates a merged file.
Focus Stacking in Adobe Photoshop Step-by-Step:
- Open the images as Layers in Photoshop (If you use Lightroom select all images and chose Edit in… -> Open as Layers in Photoshop
- With all layers selected go to Edit -> Auto Align Layers
- Duplicate all layers (this might come in handy later)
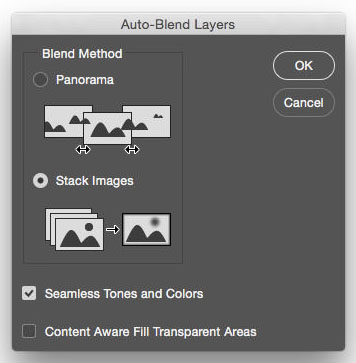
- With only the duplicates (or only originals) selected go to Edit -> Auto Blend Layers. Select Stacking Images and check the box for SeamlessTones and Colors.
- Photoshop is now automatically blending the image.
- Zoom in 100% and check if every area is sharp
- If there are areas that are unsharp, create a merged layer with a white layer mask and move one of the unedited layers beneath it. With a black brush paint the sharp image back in.
It got a little confusing there at the end, right? That’s ok. In 95% of the cases you don’t actually need to use the duplicated layers but every now and then you do. If you want to get a better understanding of the remaining 5% I highly recommend Ryan Dyar’s instructional video Putting Together the Pieces.
Blending Images with Helicon Focus
Helicon Focus is another software that many photographers use for focus stacking and, as the name might imply, it’s also a software that’s built for that exact purpose.
Landscape photographer Felix Inden often uses Helicon for images that Photoshop can’t handle and has the following to say:
“Blending stacks of images with different focal points into one tack sharp image is very easy in Helicon Focus.”
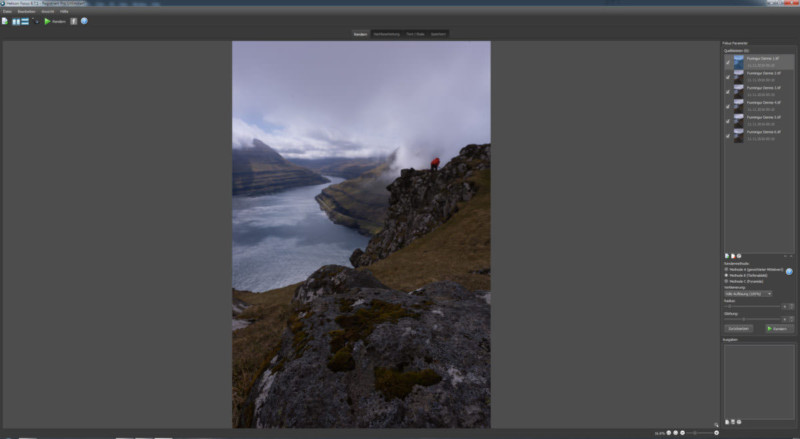
“Start by importing the files and then choose one of the 3 different stacking approaches. Explaining the different algorithms is too technical but basically, Helicon advises to test all 3 and select the one that works best for the given image. (For my own landscape photographs, A and B seem to work best.)”
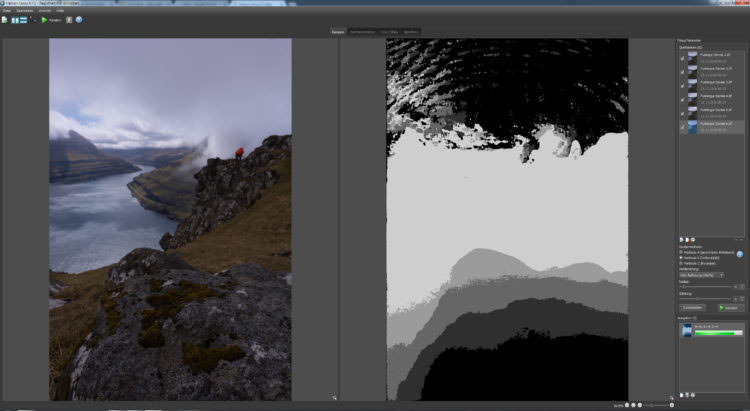
“While Helicon is rendering the files, you can see a mask building up which is fun because each algorithm will create a different one. After the rendering is done (it’s insanely fast compared to Photoshop even with big loads of images for macro photography or product shots) you can check the result with the zoom tool and then save it. If you want, you can also add a scale and name etc.”
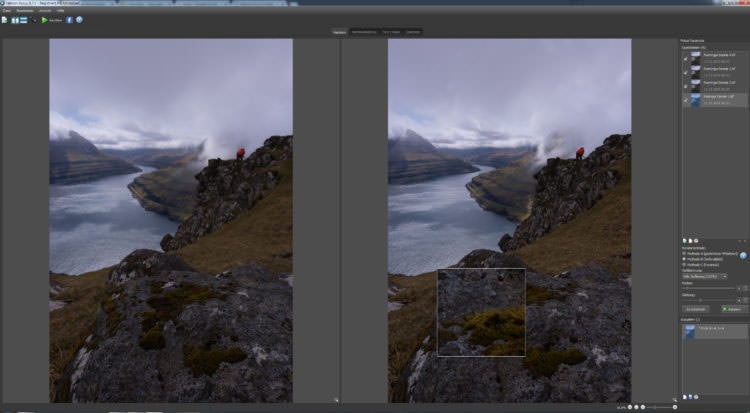
“The file is now ready to be exported and processed in Adobe Photoshop or your software of choice!”
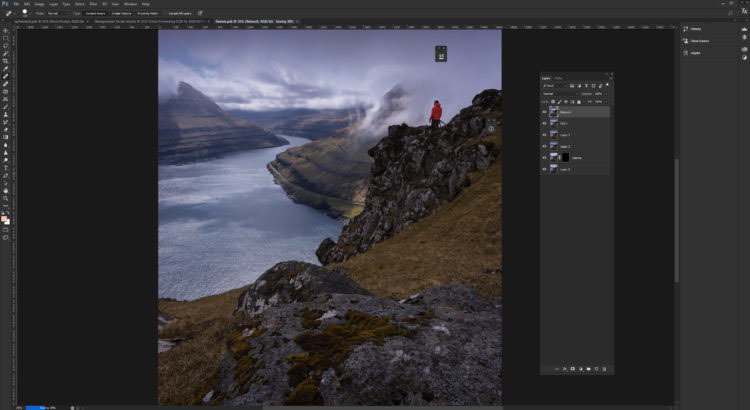
There are many different programs that can be used for focus stacking images but Adobe Photoshop and Helicon are the go-to products for many. Another high-quality software is Zerene Stacker, which many claim performs even better than the others.
About the author: Christian Hoiberg is a full-time landscape photographer who helps aspiring photographers develop the skills needed to capture beautiful and impactful images. The opinions expressed in this article are solely those of the author. Download Hoiberg’s free guide 30 Tips to Improve Your Landscape Photography and open the doors to your dream life. Hoiberg is also the founder of CaptureLandscapes. You can find more of his work on his website and Instagram. This article was also published here.

